Growing Orchids from Flask
Introduction
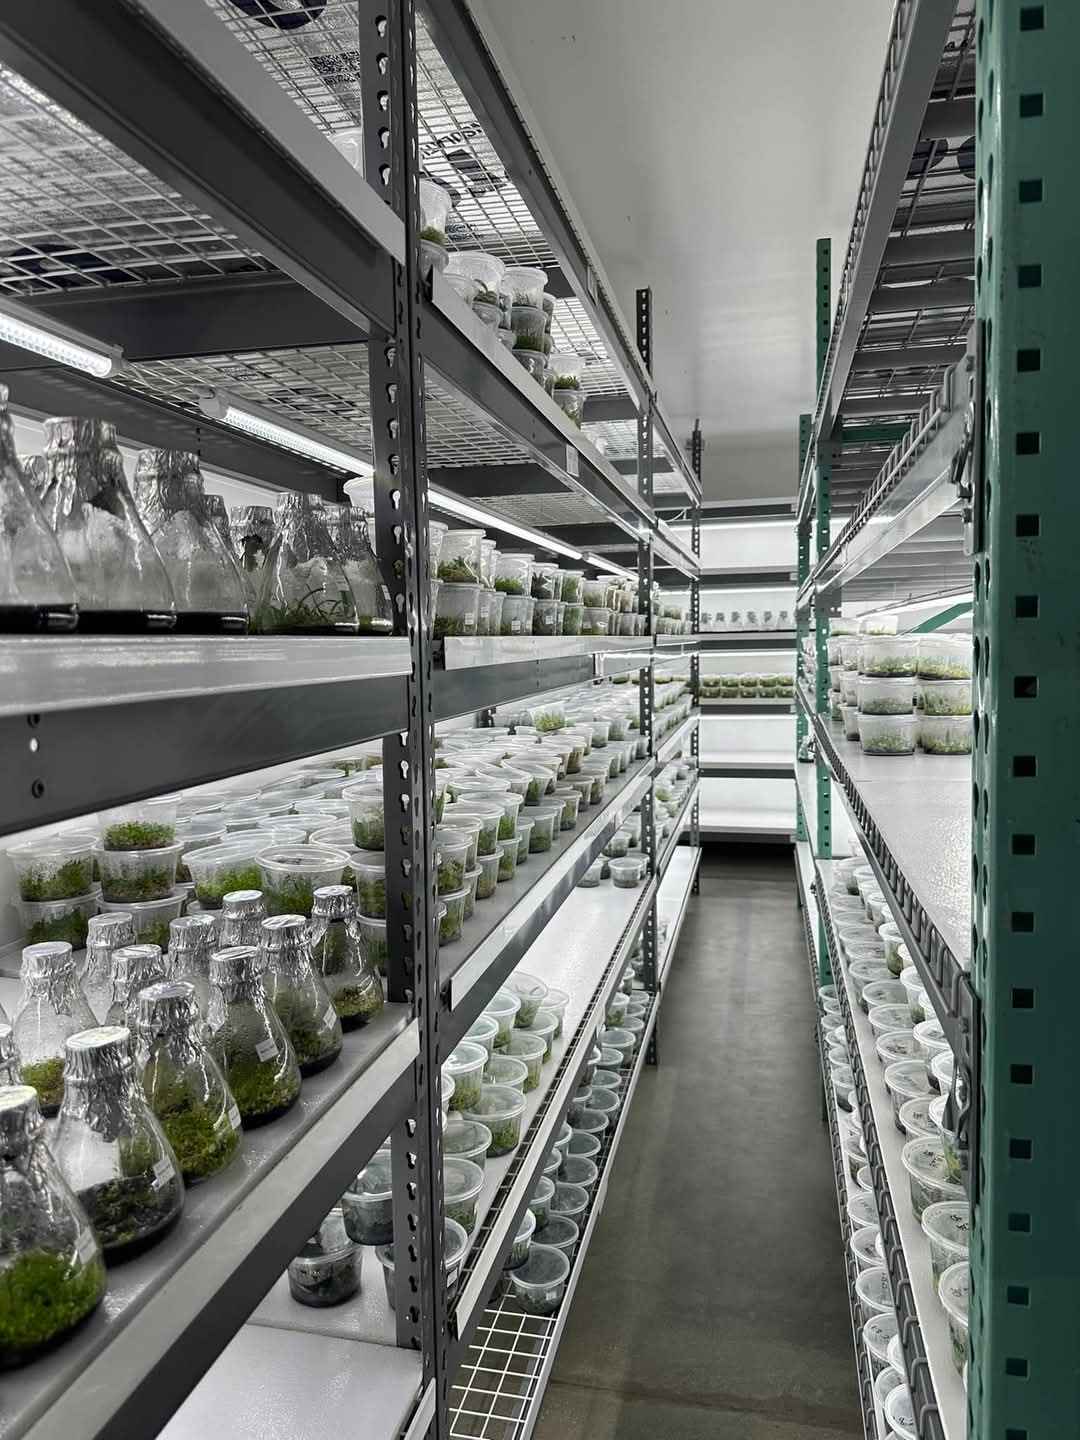
Growing orchids from flask is a fun and economical way to increase the size of your collection. Whether you're trying to fill your growing space with unique flowers, curate a collection for orchid show displays, or search for award quality plants to breed with, growing seedlings is the answer and flasks are the best way to acquire a large number of seedlings.
Why do we grow orchids in sterile flasks rather than simply planting their seeds in pots of growing media like any other plant? Orchids are unlike most other plants in that their seed contains only an embryo with no source of stored nutrients. In nature the seeds must land in a spot colonized by a symbiotic fungus in order to germinate, the fungus feeds the embryo and later exchanges nutrients with the mature plant. Many of these fungi are absent from our cultivated plants, and the species that do survive may not always be the correct species to pair with the seed we want to grow. In cultivation orchid seed is sown on a sterile nutrient gel, this allows a greater percentage of seeds to germinate and the seedlings grow rapidly with a constant source of nutrition and no competition from bacteria or other microorganisms.
Most orchid seedlings spend one to two years in flask, and during this time they are transferred between multiple flasks in a process called replating. The first stage flasks used to germinate the seed, called mother flasks, are sown densely. Once the seeds germinate the seedlings will need to be thinned out so that they have room to grow. The seedlings are replated into new flasks with more media and fewer plants, usually twenty to forty per flask compared to the several hundreds or even thousands that may germinate in a mother flask. They are allowed to grow for several months and normally need to be replated one more time into final stage flasks with fresh nutrient media to finish development. After several months to a year in final stage flasks the seedlings are ready to transition from sterile culture to open air.

Deflasking
Now you understand why orchids are grown in flasks and maybe you have already taken the plunge and ordered some for yourself. Now what do you do with them?
Deflasking is one of the most delicate times in a seedling orchid's life. They are being removed from their flasks where they are always warm and moist, have abundant nutrients around their roots, and have no competition from other organisms or exposure to pathogens and thrust out into the world. It is our job as growers to help them succeed.
The first task when you open your flask is to remove the group of seedlings and gently wash the nutrient media away from the roots of your seedlings. They will need to grow new roots that are adapted to your choice of growing media and excessive nutrient media on their roots will interfere with that process and encourage microbial growth. A gentle stream of room temperature water will wash away most of the nutrient media and any that remains can be gently worked away with your fingers. Take care not to damage the roots, it is ok to leave small areas where you can't get every last bit of media. Those traces will break down or be washed away over time. The roots of your seedlings will probably be interwoven into the shape of the flask. We do not recommend pulling them apart, the damage this causes can shock or kill them. Pot them up just as they are and over time they will grow new roots and the old flask roots will die off. With more room to grow the new roots will spread out and not entangle themselves so tightly. They will also be thicker and tougher, making them easier to gently separate when the time comes to move them to individual pots.


Potting
You might be asking now what potting medium should I use? That will depend on what kind of orchids you are growing, your environmental conditions, and your growing habits. If you are deflasking Cattleya or similar epiphytes that like a wet/dry cycle at the roots a seedling bark mix is generally best unless your growing space is especially dry or you are a chronic underwaterer. You can also use seedling bark for moisture loving plants like Paphiopedilum, but you may prefer to use something that retains more moisture like sphagnum moss. We normally deflask Paphiopedilum into sphagnum and then repot into bark after six to nine months when the sphagnum starts to break down and retain too much water. Many growers have also used New Zealand tree fern with great success and we are starting to experiment with it as a longer lasting alternative to sphagnum.
Most flasks will fit nicely into a four inch pot. Start by placing a layer of styrofoam packing peanuts in the bottom of the pot. This helps to prevent a layer of soggy media from forming before the new roots travel deep enough to fully colonize the pot. Place a layer of media over the peanuts, then set your seedlings on top of it. Fill the pot in with media, gently working it through the roots of the seedling mass until they are firmly potted. If you are growing multiple flasks of the same cross you may prefer to use a seedling flat. The process of potting them is the same, simply work in sections until all of your flasks are done. Once your community pots or trays are finished water them to help the media settle and hydrate. We like to use a quality kelp extract like Kelpak and a beneficial microorganism culture like Quantum Total to encourage rooting and discourage pathogenic microorganisms. Both products are available from our friend Ray at First Rays. Congratulations, you now have a community pot (or flat) of seedlings ready to acclimate.


Acclimation
Seedlings in flask have a very thin cuticle layer on their leaves because moisture was always abundant and they had no need to protect themselves from dehydration. Once we deflask the seedlings we have to protect them from dehydration but also give them enough airflow that they start to form a thicker cuticle and are not attacked by pathogens that can form in stagnant conditions. There are several ways to accomplish this depending on how many flasks you are working with. If you have a small number a simple gallon ziplock bag will do the trick. Place your new community pot of seedlings into the ziplock bag and seal it almost completely, leaving about an inch open at the end. Make sure that the sides of the bag are not laying on your seedlings to prevent moisture from being trapped against the leaves. Open the bag every day to allow for air exchange, leaving a little more open space each time you seal it back up. This will slowly increase airflow and decrease humidity which allows the seedlings to adapt without being shocked. If you are growing a larger number of flasks you may prefer to keep them together in a nursery flat with a clear dome or a clear plastic storage container. The acclimation process is the same, slowly increase airflow by opening the vents in the dome if it has them. If your dome does not have vents built in prop up the dome (or storage container lid) a bit more each day until it is no longer needed. After about two weeks of progressively increased airflow your seedlings should be hardened off and ready to grow in the open air. Take care to protect your seedlings from direct sunlight, their soft leaves are more prone to sunburn and your bag or covered container can easily overheat.

If you've made it this far, congratulations! Your seedlings are fully acclimated and are ready to grow. Most can be grown in their community pots for at least a year, slower growers may need two to three years before they are ready for individual pots. You may use the same fertilizer you use for your other orchids, but reduce the dosage at first to avoid burning their roots. We will discuss transitioning to individual pots in a future post.
2 comments
Enjoyed reading your blog on de-flasking. I have de-flasked a lot. And Sadly killed a lot. I hope to follow these instructions and try to do better. Thanks, Audrey
Good article, I may just venture into buying flasks myself. Your article gave me information I did not know.